
USS Akira |
| By James Barker |
|
|
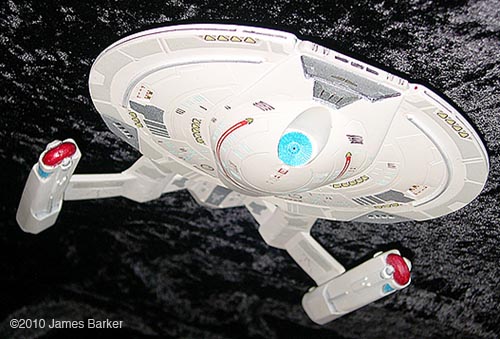
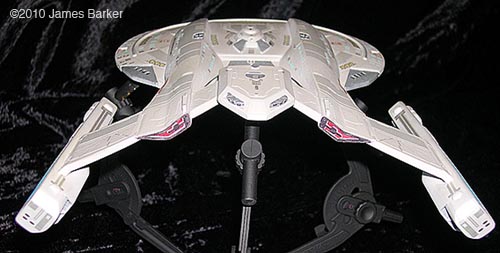
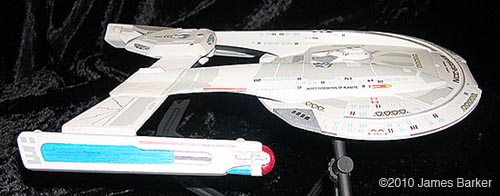
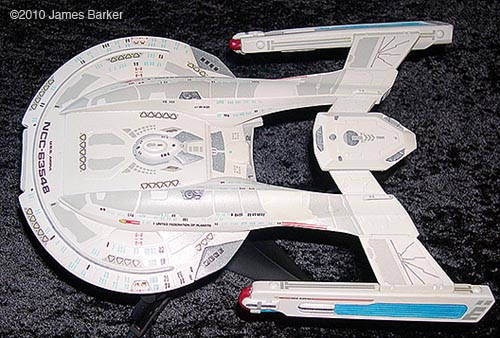
Here is my first model that I have build in over 20 years. It is a 1:1400 USS Akira I don't remember where I got it from. It sat in a closet for nearly two years, the victim of frustration with a bad resin cast and lack of time. I had a very hard time with air bubbles along the rim of the saucer, pylons and nacelles. I would fill and sand and find more bubbles. It seemed that the whole saucer rim was nothing but bubbles covered by a thin layer of resin. I know this is an exaggeration, but it truly is what I felt at the time. A few weeks ago I found myself with a full week without the wife or kid, so I pulled it out and set it out on the work table (aka the kitchen table). I challenged myself to finish it in the week I had. This being one of my favorite Star Trek designs, I had ample paint references, which after looking at I put away because I wasn't going to follow them exactly. So I headed off to my local model shop to get supplies. After whipping the bubbles into shape I gave it a base coat of a very dark gray, almost black, that I had lying around. On top of this I sprayed a few light coats of Testors Dark Aircraft Gray. Once that dried and set, I masked off the areas I wanted that color and did several coats of Tamiya Insignia White for aircrafts. After that I hit small areas with Tamiya Gun Metal Acrylic. Once the major painting was done I pulled out my other art supplies. I did the nacelle grills and bussard collectors along with the main deflector and impulse engines with my own acrylic mixes. On top of that I used corresponding Prisma colored markers. These markers are translucent to add depth and have both a fine and chiseled point. My one concern with using them was would they bleed when covered with the clear coat? Testing showed they didn't. I also used these markers on the windows, randomly lighting and darkening sets of windows. Next was a light coat of clear gloss, then decals. |
|
These were the most pathetic set of decals I had ever seen. They looked liked they had been printed on an old ink jet that was running low on ink. But having neither the time to wait nor the money to order better ones, on they went. Then a final satin clear coat finished it off. I didn't like the idea of drilling a hole in the bottom of the ship so I created a stand that the model just sits on by using the chevron base that came with the kit and attaching three old plastic compasses. The ship itself rests on the erasers of pencils in the compasses. After being assembled, the base was painted flat black. I know I could have found a stand online that would have worked, but I didn't have the money nor did I want to wait. Plus I like making what I want when I can. Overall I like the finished product, and will be building again. |
|
