
Ares I-X |
| By David Hanners |
|
|
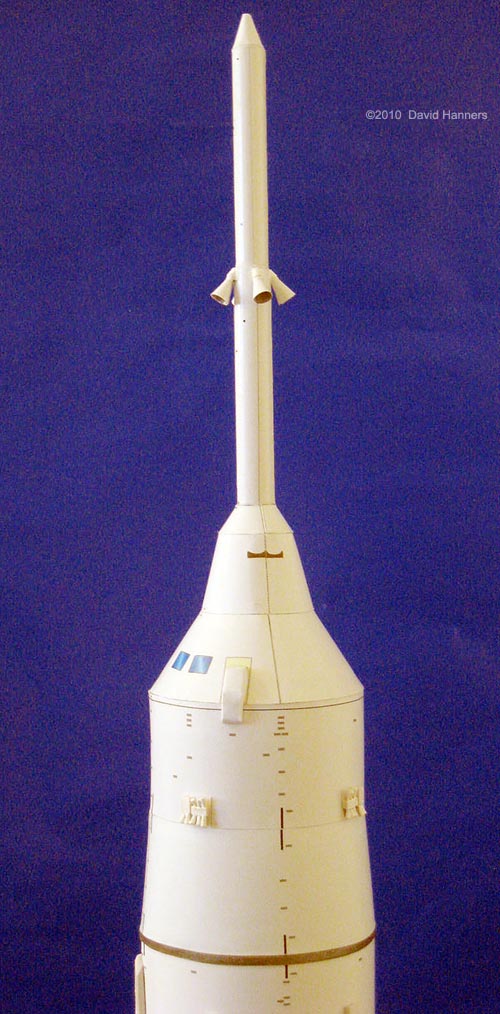
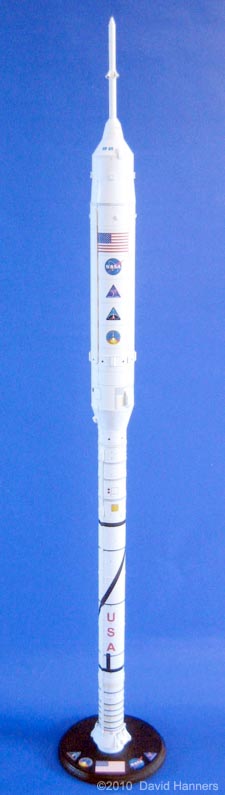
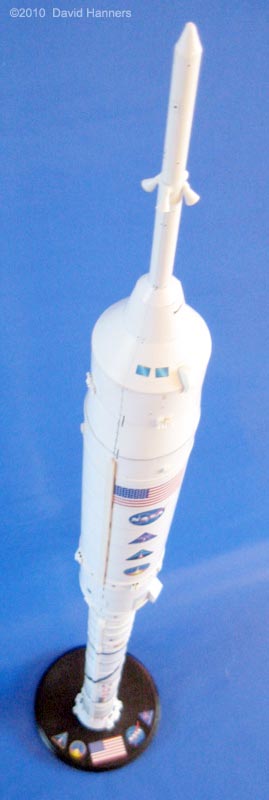
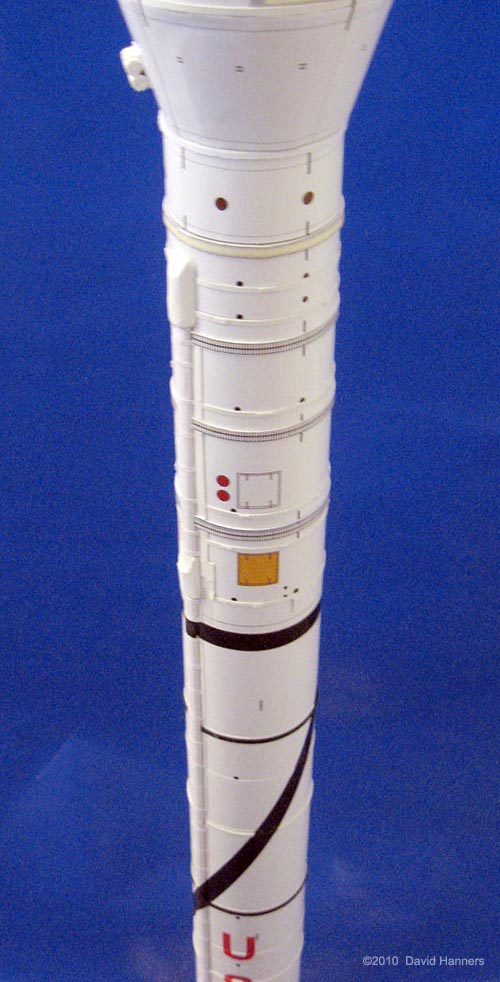
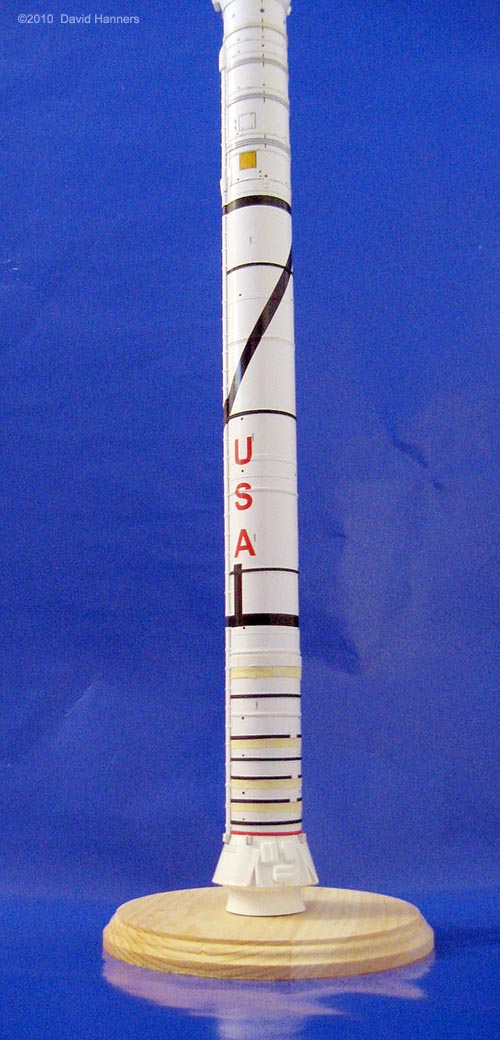
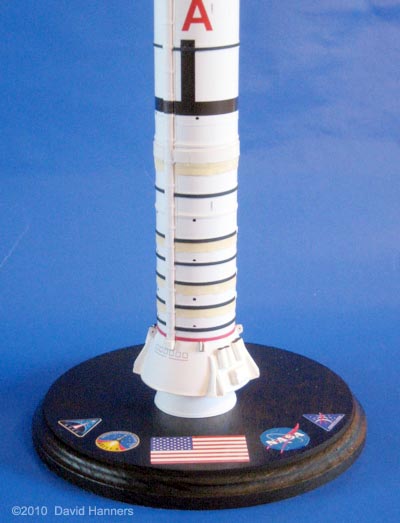
With the recent successful flight of the Ares I-X, it was kind of easy to get excited about a launch vehicle that I've never really been keen about. It's tall and thin and white -- and not too visually exciting. But that aside, I decided I wanted to build a model of the thing. Since I work in card, the choice of kits was fairly easy; Alfonso X. Moreno offers an excellent model of the Ares I-X at his great website. Even those of you who aren't card modelers should check out the site because he has great research diagrams sowing the changes mission-by-mission of the shuttle Orbiters, RSRMs and ETs. Alfonso's model is in 1/144th scale, and my preferred scale for building launch vehicles is 1/96th. So I copied his files to a thumbdrive, headed down to my local FedEx/Kinko's, and had them enlarge the pages 150 percent to 1/96th scale. On top of that, I had them copy the stuff on a glossy coated text paper (often used for brochures) to better replicate the glossy surface of the real Ares I-X. Alfonso's parts scaled up excellently, with no fuzziness in the markings or other details. The build was fairly straightforward, but I did use my usual "skins-on-tubes" method of building the vehicle. I take the model's "skins" -- i.e., the outer surface of the vehicle -- and wrap them around model rocket tubes. The tubes provide strength and rigidity and they also insure straightness. All those considerations are especially important on a launch vehicle as tall and thin as the Ares I-X. I couldn't find any model rocket tubes that were exactly the size I needed, but I found some that were a little oversize. Using techniques I learned from Rick Sternbach's excellent Saturn V pages, I figured out the size the tubes needed to be, then cut lengthwise strips out of the tubes I used for the First Stage and the Upper Stage Simulator. Once the strips were cut out, the edges of the tubes were glued together to form the new tubes, with rubber bands around them as they dried. If done properly, the cardboard of the tubes "relaxes" into a circular shape. Once everything was dry, I applied some woodworking glue along the seam, allowed it to dry and sanded it smooth. I then continued with construction, affixing the skins to the tubes with double-sided tape. Alfonso's kit builds into a great model, but at this larger scale, it calls out for some super-detailing, so I added bits and pieces throughout. On the aft skirt, I added the hold-down posts, Booster Tumble Motors and Booster Deceleration Motors and some other bits, as well as the flexible insulation curtain that rings the RSRM's nozzle. On the First Stage, I detailed the systems tunnel, added the segment joints, stiffening rings and other details, and added detail Booster Tumble Motors and other details to the Frustum and Forward Skirt Extension. On the Upper Stage Simulator, I added various rings, a detailed systems tunnel, detailed the Roll Control System and fuel line, and I added various bits to the Spacecraft Adapter Assembly, and added Reaction Control Motor nozzles (made from the sliced-off pointy ends of round toothpicks) to the Service Module Assembly. Various bits were added to the Crew Module and Launch Abort System. |
