
USS Defiant |
|
|
|
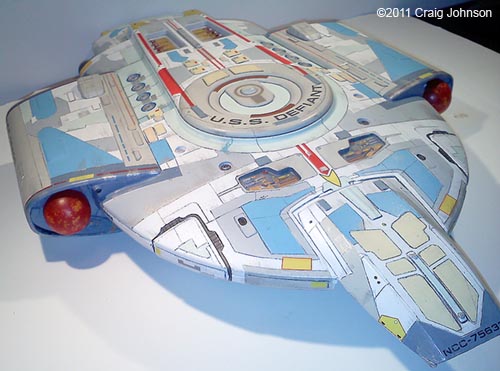
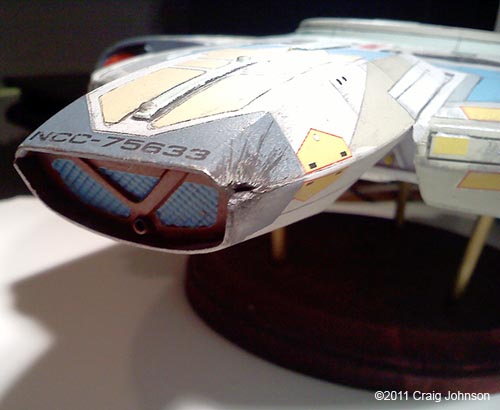
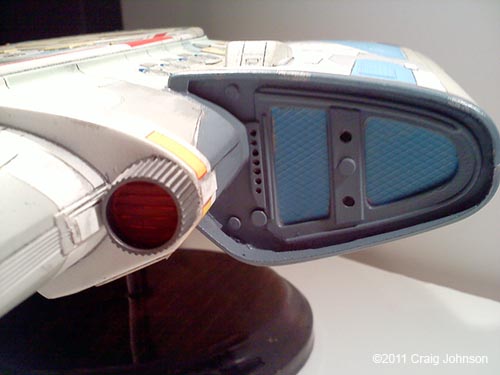
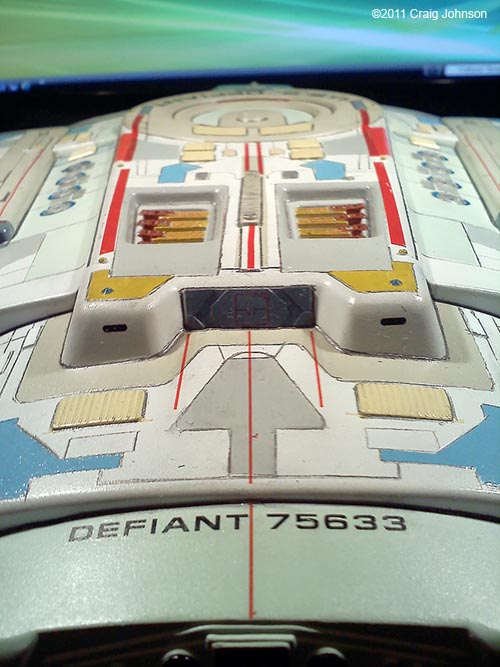
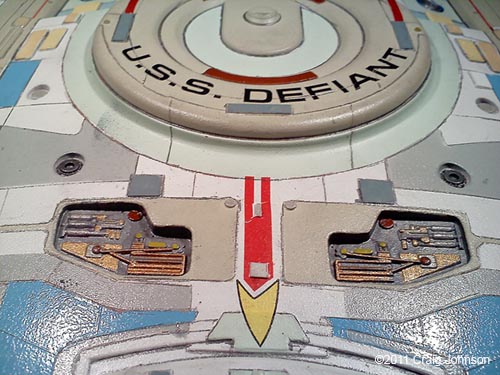
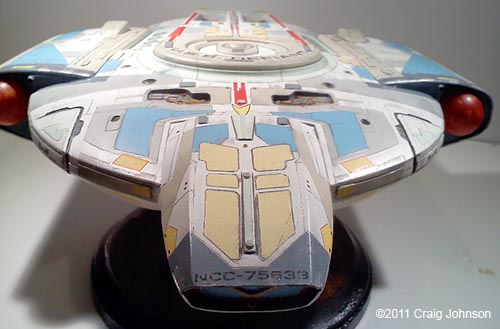
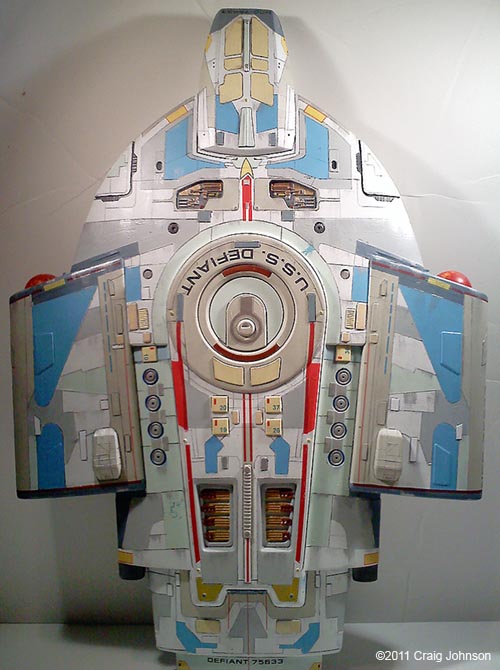
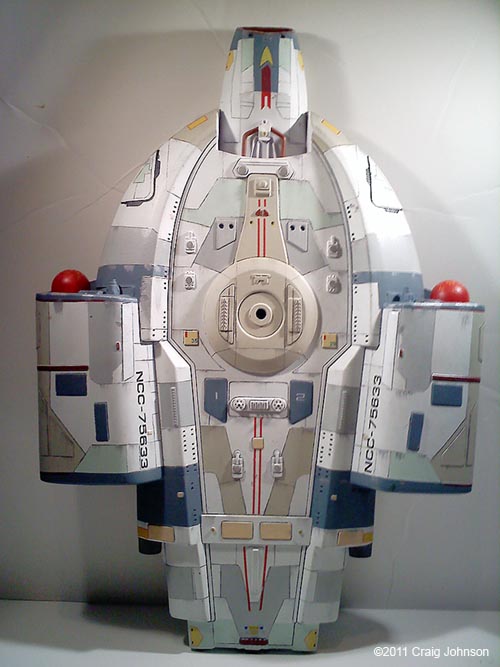
I wanted to brush up on my airbrushing skills and give a try at better detailing. This kit had been languishing in my hobby closet as a half completed model for the past 6 years. So I decided to give it a try as a good refresher for improving my skills. For the most part, the kit was built straight from the box. However I did make a few changes to provide a little more detail. I wanted to reflect a post-Dominion War refitted Defiant. So, not being satisfied with the kit's original forward nacelles I replaced the them with scratch built ones using sheet styrene and leftovers from the model spare parts box. I replaced the kit's bussard collectors with rounded ones from the spares box, so as to give the kit a more traditional "Trek" feel. After several rounds of filling, sanding, filling, and sanding some more, I decided to cut my loses. So during assembly, since I was coming at this model from the point of view of being a refit, I decided to use strips of .010 styrene over the mold lines to provide the impression of additional armor plate. Then I focused on the impulse engines. On this kit, they consist of nothing more than two depressions on both sides of the back of the kit, with little detail. I didn't want to go cutting the kit open so I decided to detail outward instead. Impulse engine nozzles were made with the help of come creative modification of two toothpaste caps sanded and hollowed out. Two small rounded pieces of clapboard siding sheet styrene were inserted to provide some detail at the back of the nozzles. I added various thicknesses of sheet styrene across the model to provide a little more detail and give the impression of some up armor added during a refit. In addition, I added some styrene squares on the top and bottom of the kit in 8 places to give the impression of lifeboat hatches. On the aft end of the kit, there's 4 round shapes, which I decided to interpret as phaser banks. I drilled them out to provide some more detail. At the very top and back of the kit, there's an indention that sits between two protrusions. I've always looked at this and thought that this area should have included some sort of docking hatch. The studio model has no real detail in this area, so I put some in on mine. I scratch built a docking hatch using some sheet styrene. |
|
The model was given an overall coat of satin white. Followed by airbrushing with various shades of grays, duck egg blue over the various panels. Also used various Model Master sprays of various grays, and tans were also used. Model Master metalizers were used in various places to provide more panel detailing. The kit's original decals were beyond usable, so I replaced them with JT Graphics Defiant decals. Also used various decals using leftovers from numerous kits. I had a lot of RCS thruster decals left over from various Trek kits so I decided to use them up on this kit. This worked out nicely, as this model never seemed to indicate where or how many of these the Defiant had. So to give this kit a better Trek feel, I've added quite a few. The model was given several coats of dull coat, followed by a little weathering using Model Master Aluminum and Model Master exhaust metalizer. This being a warship, I couldn't resist the opportunity to give the ship a "bloody lip", so I scratched out some damage on the front of the ship. Panel lines were detailed using an artist pencil. This is a technique that I am still trying to get down and feel comfortable with. Image: Bridge Image: Grid Image: Nacelle Image: Name Image: Penant Image: Front Image: Top Image: Bottom |
|
![]()
Starship Modeler Home | Site Map | Gallery Main Page | Feedback
This page made possible by Starship Modeler™ - copyright © 2011.
