
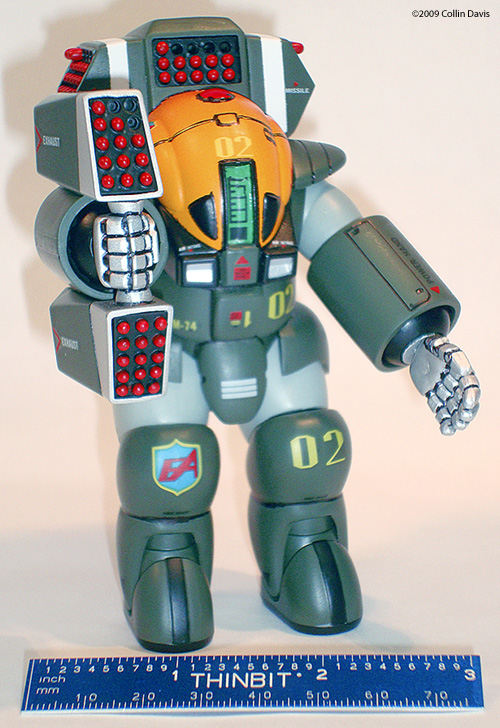
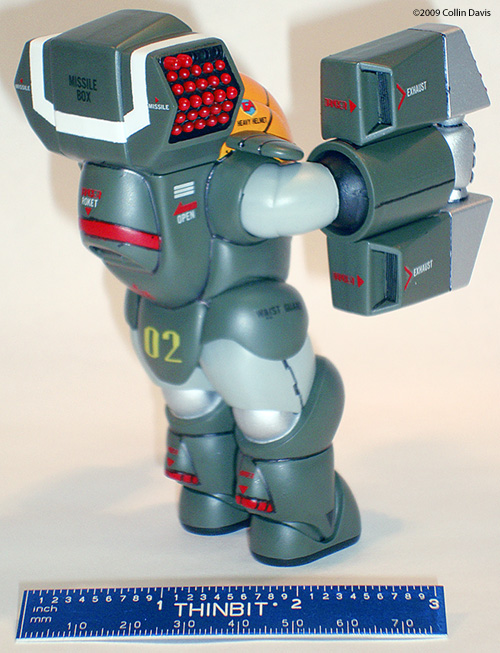
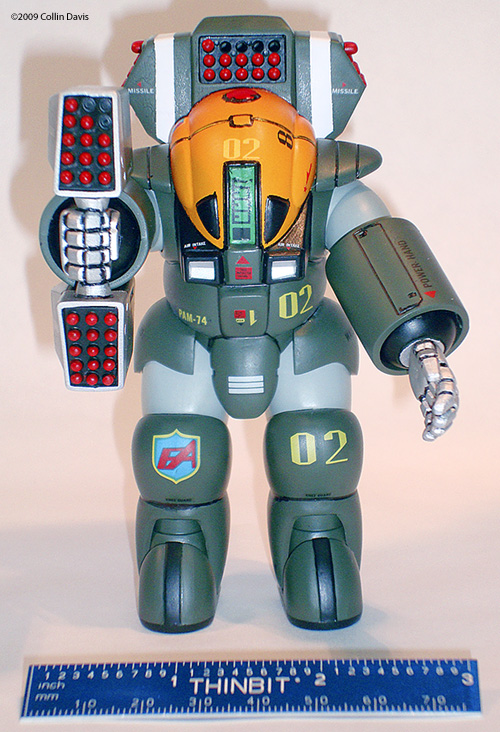
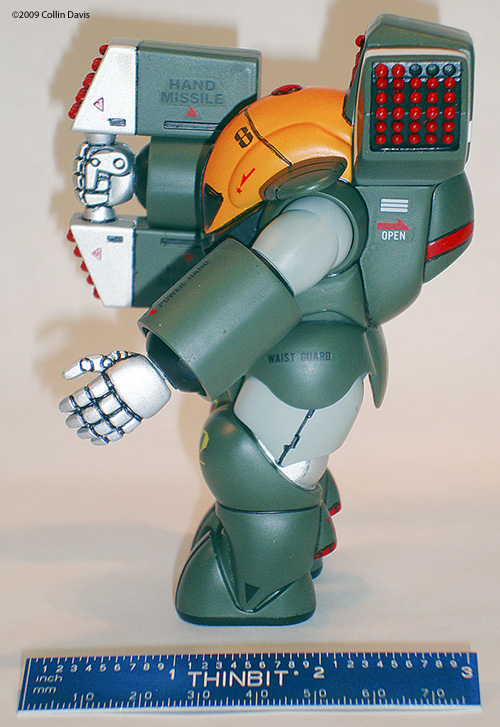
Dorvack Tinkle Bell PAM-74 |
| By Collin Davis |
|
|
I bought this 1983 vintage kit from EBay. However, it (and most of the other Dorvack kits) has recently been re-released by Aoshima in packs of two kits. I tried to build this kit back in the 80’s (when I was a kid) but the paint scheme was just too difficult. I love the box art of this kit with its cool 1970s Vietnam helicopter paint job and dynamic pose. It made me want to paint the kit just like the box. At 26-years-old this model shows its age. It is a very simple kit. However, test fitting the joints is very important, as they may not fit together quite as well as we have come to expect from Japanese kits. It’s molded in olive green and silver; all the parts were well cast, and detail is sharp. There was no flash on the kit. Fit and finish of the parts were not always good. Seams did not always align well and there was no effort made to hide the seam lines. They are front and center on this kit. As the kit has so few parts assembly was quick and easy. However, if you want to get a smooth seamless finish you should expect to spend a lot of time filling and sanding. My goal this time was to make the kit as close as possible to the sample kit photos provided in the instructions. Truly, I am not worthy to carry the luggage for the genius craftsman who built that display kit. I went to great length to be as faithful to that example kit as I could. The entire model is done with Gunze Sangyo paints. The green is MR. Color C120 (RLM80), the gray is Aqueous H62, the yellow/orange is Aqueous H24, and the reds were Aqueous H86. All other colors were Tamiya’s X2, X28, X18, and X11. To get the Yellow/Orange to be as bright as it should be I first put down a base coat of white. All the missiles were hand painted as they were molded into the body. The white and red striping was painted on even though there where decals provided for them. I applied a coat of future prior to applying decals. Over all the decals where good once I got used to letting them soak for a very long time. I used Micro-Set to replace the dissolved decal adhesive. I used Micro-Sol to make some of the larger decals conform to the rounded surfaces. The entire finished kit was then sprayed with Tamiya’s TS80 Clear Flat and the lines were drawn using Gundam markers. Overall, I was not entirely happy with my work, and would like to do this kit again after my skills have improved quite a bit more |